
SIERRA II
Set-up & Tear-down
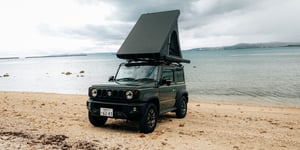
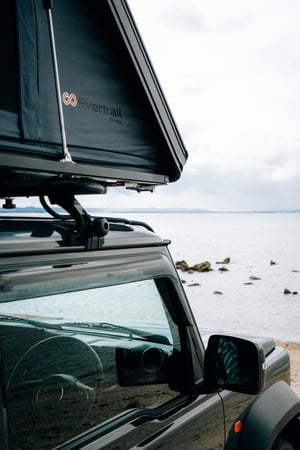
THE ROOFTOP TENT
CLAM STYLE 2 PERSON
DESIGNED FOR THE JOURNEY

THE SET-UP
IMPORTANT POINTS
THE LADDER
The ladder cannot be mounted until the tent is fully opened.
Remove the ladder clips before attaching the ladder to the tent mounts, then secure them again once the ladder is in place.
The ladder can be mounted on either the right side or the rear of the camping car.
TENT AMENITIES
Inside the tent, you'll find all bedding, the poles for the tent fly, and a shoe bag.
Attach the shoe bag before inserting the poles. If you forget, simply remove one pole to attach it.
A USB extension cable is stored in one of the tent pockets for operating the LED light.
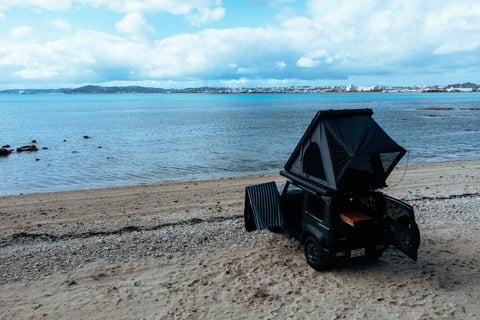
PREPARE FOR THE CONDITIONS
In hot conditions when the winds are stagnant, find a spot that has on-shore winds to ensure a nice breeze to keep you cool at night.
In winter, and in windy conditions, pick the side of the island with off-shore winds to ensure the best conditions to camp.
In windy conditions, consider your car’s placement—look for sheltered areas and try to position the hard side of the tent against the wind.
To minimize noise in strong winds, you may choose not to use the poles and keep the fly secured to the tent.
THE TARE DOWN

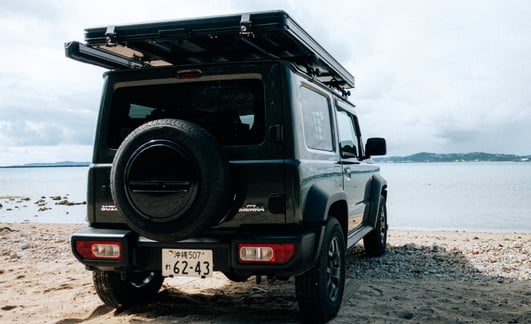
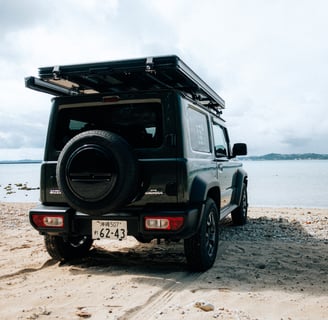
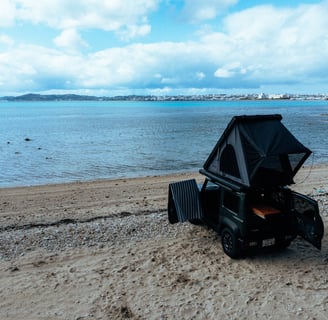
The rooftop tent on our Sierra Jimny II isn’t just about where you sleep—it’s about how you get there. Handpicked for its slimline design, this tent minimizes wind resistance and reduces noise, ensuring a smoother, quieter ride as you explore Okinawa.
Its low-profile build also helps reduce sway, keeping your drive stable and comfortable, whether you're cruising coastal roads or winding through mountain trails. Once parked, it unfolds effortlessly into a cozy retreat for two, complete with built-in LED lighting and charging ports for added convenience.
IMPORTANT NOTES
THE LADDER
Remove the ladder before closing the tent.
Close the ladder starting from the top to avoid jamming your fingers.
THE TENT
After pulling down the strap to close the tent, tuck in the tent material on both sides before locking the clamps.
Make sure to tuck the strap into the tent and avoid closing it in the rear door of the vehicle. This helps prevent water from entering the car in case of rain.
THE SIDE AWNING
A PERFECT PIECE OF SHADE
Waves roll in, then slip away,
A salty breeze, a sunlit day.
Footsteps vanish in the sand,
Time drifts by, like grains in hand.

THE SET-UP
IMPORTANT NOTES
The awning is best set up with two people.
Make sure to secure the awning to the ground using the provided pegs. If the ground is sandy, use heavy stones or rocks instead.
Since awnings are made of aluminum for weight-saving purposes, they are inherently weak in windy conditions.
Campers should use their judgment when deciding whether to extend the awning based on the weather conditions.
Consider retracting the awning before going to bed, as wind direction and strength can change during the night.

WINTER BEDDING

During the winter, you'll find either two single extra-thick duck feather duvets or one luxurious double stored in the rooftop tent, ready to keep you warm on chilly nights.
Since Evertrail uses sleek, slimline tents designed for top-tier noise reduction and stability, we’ve come up with a solution to ensure these cozy blankets fit snugly. By using vacuum-seal bags, we compress the duvets flat, making it effortless to close the tent while still keeping comfort a top priority.
COZY WINTER NIGHTS
IMPORTANT NOTES
PACKING UP
Winter bedding is provided only during the colder months.
The small tab used to seal the bag can come off easily; please try to reattach it after use.
It is recommended to charge the vacuum after each use.
Please return all attachments for the handheld vacuum to the bag after each use.
Before closing the tent, place the bedding in the center.

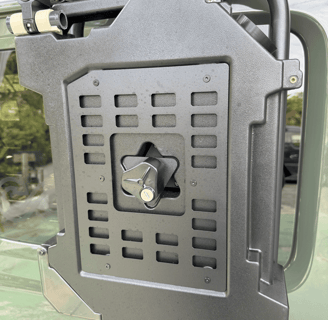
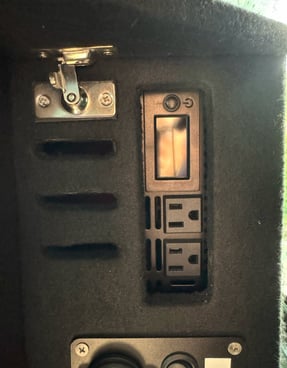
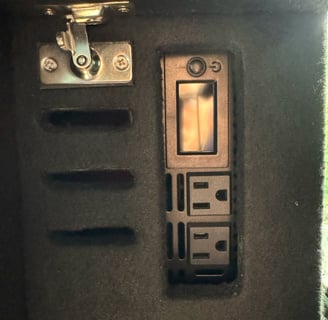
WATER TANK
10L RINSE
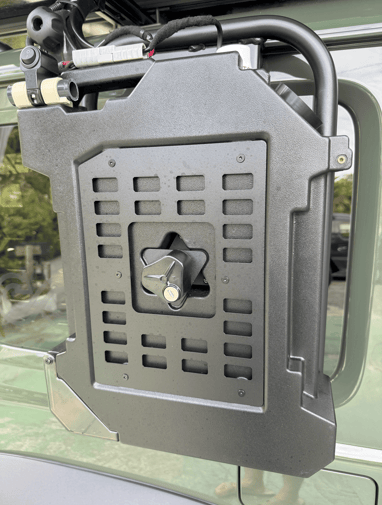
OPERATIONS
IMPORTANT NOTES
You can also access water from the faucet at the bottom of the tank.
Switch off the pump before removing the hose, and also turn off the switch at the battery.
The water tank and tent share the same power button. To avoid wasting power, always switch off the power at the tank switch when not in use.
Pull the sleeve back first to remove the hose from the tank.
The easiest way to refill the water tank is to leave it in place and use a long hose from a campsite.
If you remove the tank, follow the steps in the video and ensure that the water tank is secure and locked before driving.
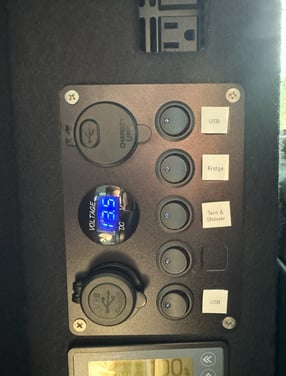
REFRIGERATOR
30L DRAWER STYLE


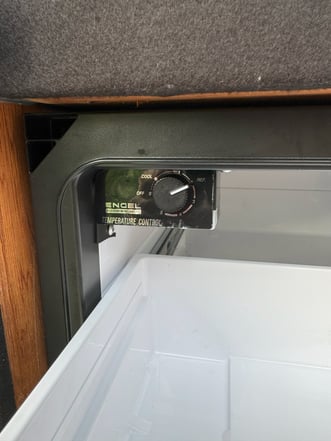
IMPORTANT NOTES
Press the "Fridge" button on the switch panel to turn on the refrigerator.
If the fridge doesn’t power on, check that the dial on the fridge is turned on. We usually keep it at level 3 for a balanced setting that conserves battery power.
The fridge will make a noise when the compressor is running to cool the interior, just like a household refrigerator.
If you won’t be using the fridge for a while, feel free to switch it off to conserve battery power.
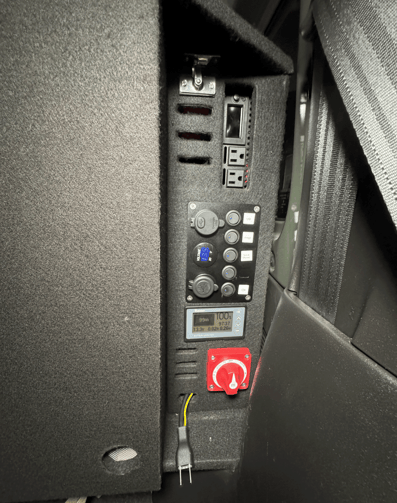

THE BATTERY
CUSTOM MADE
Press the power button to turn on the AC appliance plugs.
After use, press the power button again to switch them off and conserve energy.
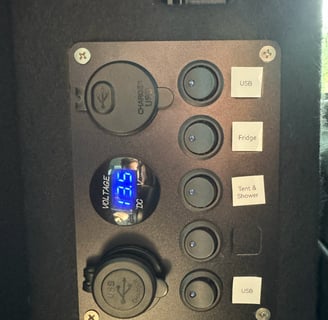
Press the button to operate the appliance you desire.
A little LED blue light should illuminate when the appliance is powered up.
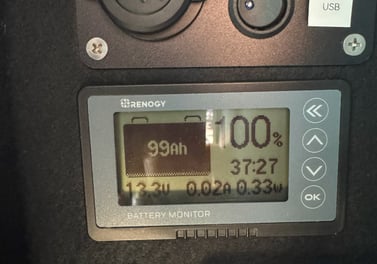
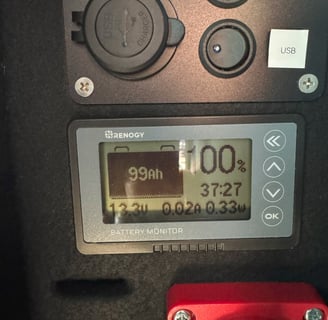
This screen will tell you what percentage the battery is at.
The numbers written in time format indicate how long the battery has left until empty.
0.02A indicates amps going in or out
0.33w indicates the wattage.
When the screen is lit up, power is being drawn.
When the screenis flashing the battery is charging.
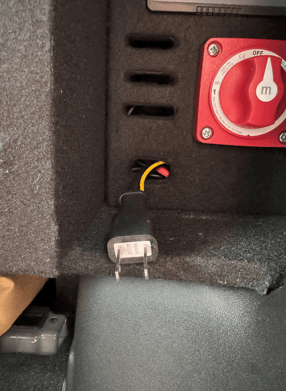
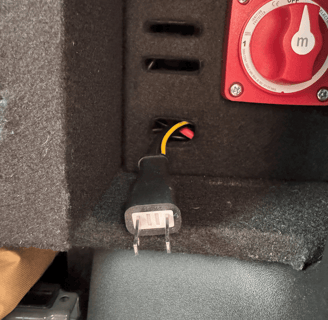
The plug is for charging the battery from an AC power source, such as a house or building.
The switch on the left allows you to alternate between charging via the car or an AC input.
Setting 1: Charges from the car. The car battery will not drain after switching the car off if left on this setting.
Setting 2: Charges from an AC input via the plug. If you are at a campsite with electricity, switching to Setting 2 and plugging it in will charge the battery.
The middle setting turns charging off.
IMPORTANT NOTES
During the summer the inside of the car will get hot during the day with the fridge on. To avoid the battery overheating, leave the windows open a jar to promote ventilation and keep the inside temperature down.